Think projectors are only for big rooms? Think again! Discover how projectors can work wonders in small spaces, offering flexible, space-saving solutions without compromising on entertainment quality.
How to Set Up the Perfect Projector Home Theater System
jan 03, 2025 - Tips & Tutorials
Ready to bring the movie theater experience right into your living room? Setting up a projector home theater system is one of the best ways to create a cinematic escape without breaking the bank. Whether you’re a movie buff, a sports fan, or just love a good binge-watch session, a well-set-up projector can take your viewing to the next level. Let’s dive into the key steps for creating the perfect projector home theater system.
Step 1: Choose the Right Projector
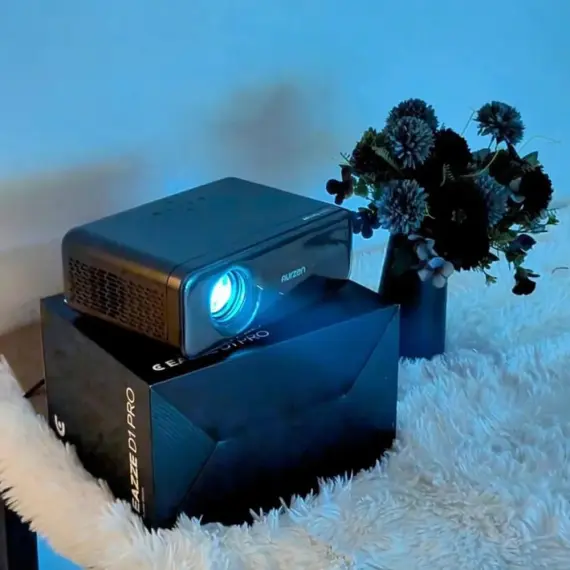
The projector you choose is the heart of your home theater setup, so picking the right one is essential. Start by deciding on the projector’s resolution. 1080p projectors are great for everyday use and still provide fantastic picture quality, but if you want that true cinematic sharpness, 4K projectors are the way to go. Don’t forget about brightness either. If your room has a lot of natural light or ambient lighting, you’ll need a projector with a higher lumen rating to ensure the image remains vibrant and clear.
Also, think about throw distance. If your room is small or narrow, a short-throw projector is ideal. It can project a large image from a short distance, which is perfect for tight spaces. For larger rooms, a standard or long-throw projector will work better, allowing you to create a massive image from a longer distance.
Step 2: Pick the Right Screen
A projector screen is a must if you want to get the best possible picture quality. Sure, you can project onto a white wall, but the quality won’t compare to a dedicated screen. Depending on your room’s size, you can opt for a fixed frame screen, a pull-down screen, or a motorized screen that hides when not in use. Fixed frame screens give a sleek, permanent setup, while pull-down options are more flexible and portable.
Consider screen material too. A screen with a reflective surface helps to enhance the brightness and contrast of your projected image, and some screens are specifically designed to reject ambient light, which is helpful for rooms with lots of natural light.
Step 3: Room Layout and Placement
The layout of your room plays a huge role in the overall experience. Ideally, the projector should be placed at the correct throw distance for your chosen screen size. Make sure the projector is aligned to avoid distortion, and be mindful of the height. You don’t want the image projected too high or too low—it should be at eye level when you’re sitting comfortably.
If you’re mounting your projector on the ceiling, make sure it’s securely installed and positioned at the optimal angle. If you’re placing it on a shelf or table, ensure it’s stable and not at risk of tipping over.
Step 4: Sound System Setup
A projector may provide a stunning picture, but don’t forget about the sound—it’s just as important! Most projectors have built-in speakers, but they often leave a lot to be desired in terms of quality. To get the full cinematic experience, investing in a dedicated sound system is essential.
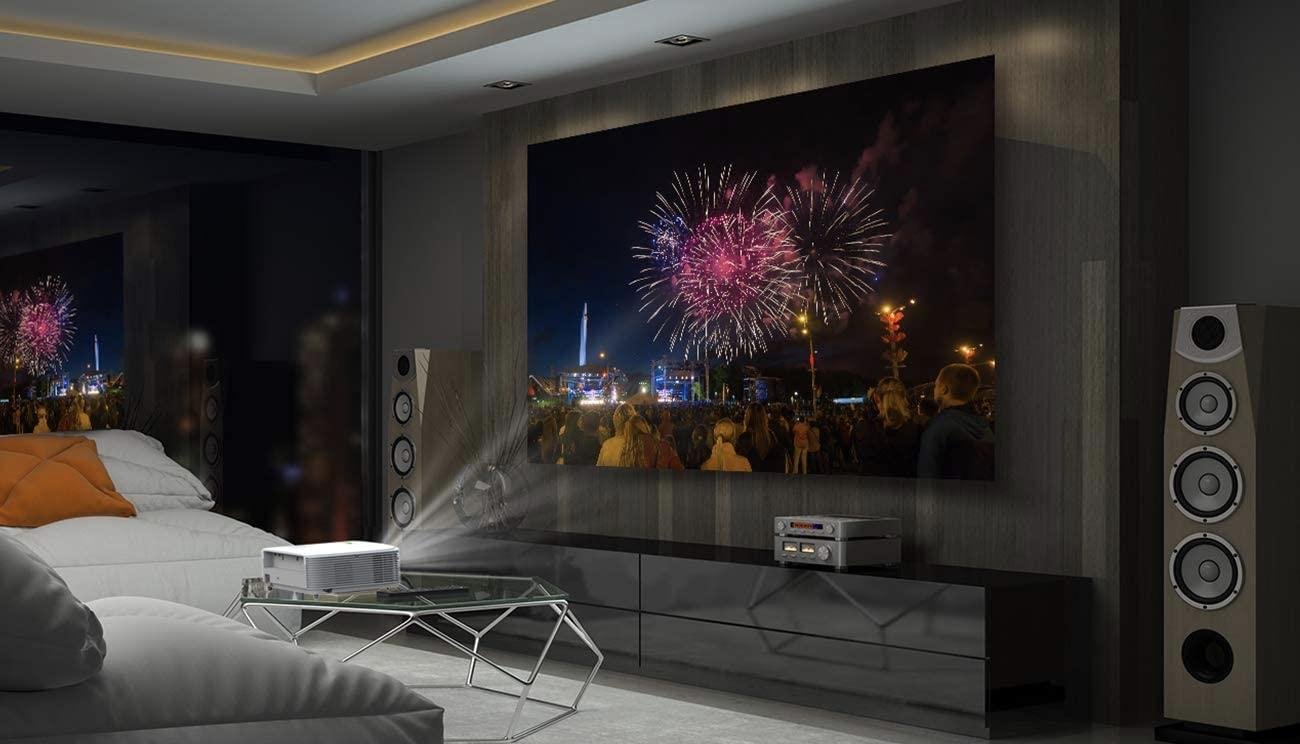
A soundbar is an easy and cost-effective option, offering better sound quality and a sleek look. For a truly immersive experience, consider a surround sound system with multiple speakers placed around the room for that true theater effect. Just make sure your room has enough space for the speakers and that you can route cables neatly to avoid clutter.
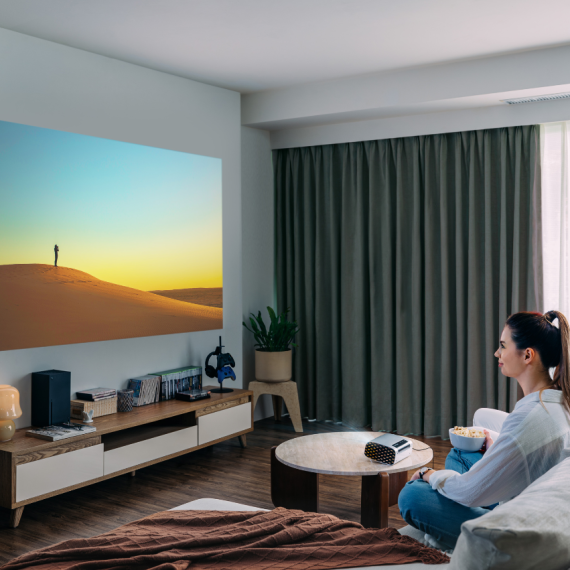
Step 5: Optimize Your Viewing Environment
Lighting is crucial to getting the most out of your projector. For the best image quality, try to watch movies or shows in a dark room or one where you can control the light levels. Blackout curtains or shades are a great way to block out sunlight and ensure your projector’s colors pop.
The seating arrangement also plays a big role. The ideal viewing distance from the screen is typically about 1.5 to 2.5 times the screen size, but this can vary depending on your preferences and projector settings. Make sure your seats are comfortable and provide a clear, unobstructed view of the screen.
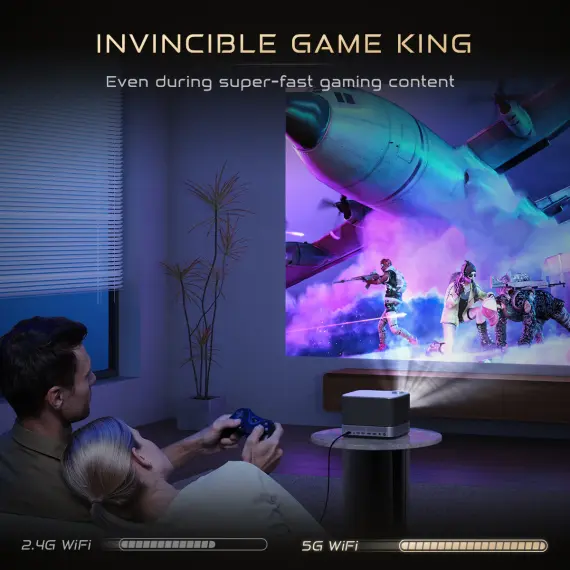
Step 6: Add Smart Features
Many modern projectors come with smart features built-in, like Wi-Fi, streaming services, and apps. This means you can watch Netflix, Amazon Prime, or YouTube directly from your projector without needing a separate device like a Blu-ray player or streaming stick.
If your projector doesn’t have these features, consider using a streaming device like Chromecast, Roku, or Apple TV. These devices are easy to connect to your projector and open up a world of content, from movies to live sports.
With all these steps in place, your projector home theater system will be the envy of everyone who visits. Whether you’re hosting a movie night with friends, gaming with a massive screen, or just enjoying your favorite TV shows, the right setup will turn your living room into a cinematic wonderland. It’s time to sit back, relax, and enjoy the show!